Showing posts with label screenshot. Show all posts
Showing posts with label screenshot. Show all posts
Wednesday, May 24, 2017
Computer Mobile Me ScreenShot Kaise Le
Computer Mobile Me ScreenShot Kaise Le
Computer (Mobile) Me Screenshot Kaise Le

Hello dosto aaj mai aapko ye bataunga ki hum apne Computer aur Mobile me screen shot kaise lete hai kyoki agar aap online blogging karte hai to aapko iski jarurat padti hai isliye mai aapko yaha par Screen Shot ke bare me batane jaa raha hu aur yaha mai 3 Tarika bataunga Screen Shot lene ke aap hame step by step follow kare
Computer Me Screen Shot Kaise Le?
Computer me screen shot lena bahut aasan hai aapko sirf kuch buttom ko press karne hote hai chaliye jante hai kaise
Step 1: sabse pehle aapko apna computer start kare uske bad aapko jaha screen shot lena chahte hai waha par jaye
Step 2: Agar aap screen shot lena chahte hai to aap apne computer ya laptop ke keyboard me Prt sc buttom ya prt sc sysrq buttom hoga isper click kare ye computer Backspace buttom ke upper hota hai aap dekh le
Step 3: ab aapko paint ko open karna hai uske bad aap paste karde control_v dabaker paste karde waha par aapka screen shot aaja yega aap waha se apne photo ko save kar sakte hai
lekin agar aap isse bhi fast tarike se screen shot lena chahte hai to ab mai aapko wo bhi bata deta hu aap mujhe follow karte rahe
mai aapko bata du ki isse bhi fast tarike se screen shot lene ke liye aapko ek softwere ko download karna hoga
agar aap computer se related aur bhi jyada tricks ko janna chahte hai to yaha click kare
Computer me fast tarike se screen shot kaise lete hai?
softwere ka naam hai light shot aap yaha click karke download kar sakte hai Click here
ab Light shot download karne bad aap apne computer me install karde step by step batata hu fast tarike se Screen shot lene ke aapko is softwere me koi bhi setting karne ki jarurat nahi hoti hai
step 1: aap agar jaha bhi screen shot lena chahte hai to waha Prt sc buttom ko click kare
click karte hi area select kare aapko jitna bhi screen shot lena hai jitney size utna select karle aap image me dekh sakte hai
 |
ab aapke side me jo edition ka option dikh raha hai usme aap screen shot ko apne tarike se edit kar sakte hai
iski madad se aap kuch is tarike se apne screen shot ko edit kar sakte hai
Save karne ka tarika and shortcuts
A: Ab jub aap apne screen shot lene ke edit karne ke bad usko save karne ke liye aap
Control_S dabaker aap use directly save kar sakte hai apne computer ke documents ke file me
B: Ab dusra tarika ye hai aap Control_c dabaker use copy karle phir paint,ya photoshop,kahi bhi paste karke save kar sakte hai agar aap isse facebook ke messege box me bhi paste karenge to waha par chala jayega ab aap to samajh hi gaye honge ki computer me screen shot kaise lete hai Ab ye jan lete hai ki mobile me screen shot kaise lete hai
Android mobile ke tricks hindi me aur janne ke liye yaha click kare
Mobile Me Screen Shot Kaise Le?
mobile me screen shot lene ke bare me jyada tar logo ko pata hota hai kyo mobile me screen shot lena bahut aasan hai aur aap bhi mobile me screen shot aasani se le sakte hai chaliye jante hai kaise
Step 1: aap apna mobile le uske bad aap Power buttom aur valume down key ko ek saht 2 se 4 second tak press karna hai uske bad aapka screen shot ho jayega
Step 2: aur agar aap Samsung ka mobile use karte hai to aapko Power key-aur centre key ko ek sath press kare centre key ka matlab jo mobile ke bich me hota hai use kehte hai
Mobile Me Screen Shot ke fyade kya hai?
Agar aap online kuch work karte hai jaise blogging,facebook,twitter to aapko screen shot ki jarurat padti hai aur agar aap chahe to aap apne game ki score ko screen shot karke facebook ya kahi bhi dikha sakte hai aur bhi bahut sare fyade hai screen shot ke
Also Read:
Mobile number use kiye bina whatsapp kaise chalaye janiye hindi me
mobile hang hone se kaise bachaye
mobile me pattern ko kaise tode kare
computer me folder kaise chupaye bina kisi softwere ke
apne computer ki kuch setting karke ram jyada kare
To dosto ye post aapko kaisa laga aur agar atcha laga to hamare facebook page ko like jarur kare aur aisa hi tricks ko pane ke liye aap mere site ko subscribe jarur kare
Available link for download
Sunday, March 26, 2017
How to Take Screenshots on a Mac with Apowersoft Mac Screenshot
How to Take Screenshots on a Mac with Apowersoft Mac Screenshot
How to Take Screenshots on a Mac with Apowersoft Mac Screenshot
Generally speaking, people who shift from Windows to Mac are often confused about the method for Print Screen, since the shortcut key to take a screenshot on Mac is different from Windows. While a combination of "Command + Shift + 3 or 4" shortcut keys will allow you to take screenshots on a Mac, the problem that arises is that captured content cannot be edited. To work around this, you can use the third-party tool Apowersoft Mac Screenshot. This tutorial will instruct you on how to take screenshots on a Mac more efficiently.
Method 1 :- Taking the Screenshot
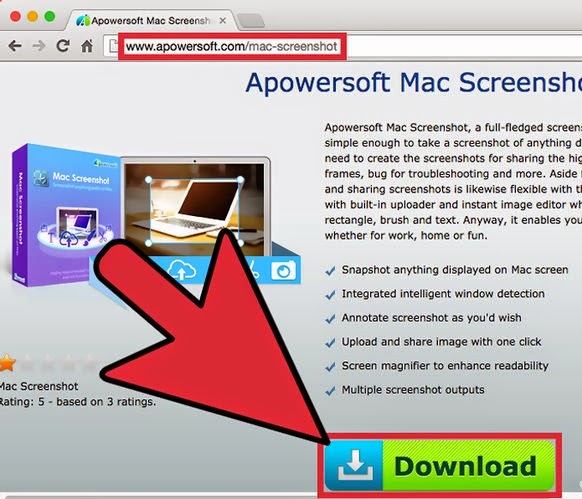
1.Launch the application and preset the options. Open the official website and click "Download Desktop Version" button to download and install the application. A thumbnail of its icon will appear at the top menu bar once you launch it, just left click it and select "Options" in the drop-down menu, then you can enable your preferred keyboard shortcuts and choose the desired image quality.
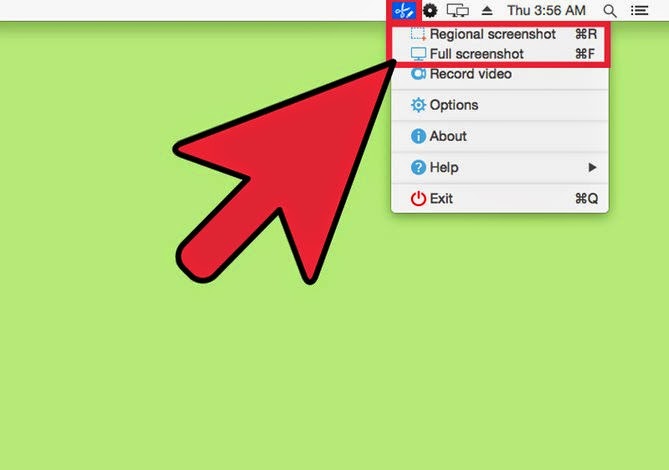
2.Select a capture mode. Full screenshot and Regional screenshot modes are both available for this application––select the one you need and begin to grab your screen.
- Full screenshot mode will capture the whole desktop and automatically save to the target output folder.
- Regional screenshot enables you to customize the capture area, just drag your mouse cursor to snap the content and then let go of it when the capture is finished.
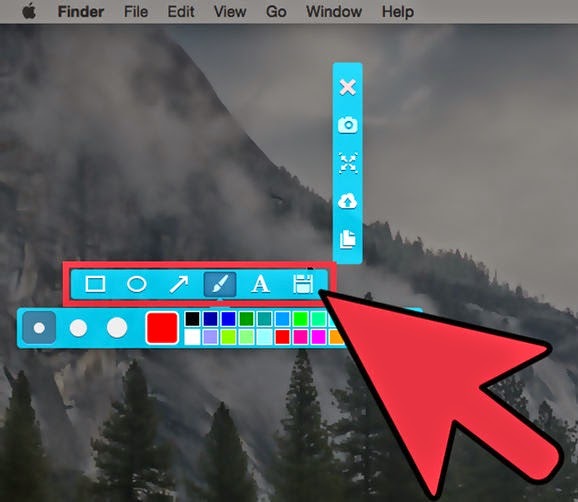
3.Edit the captured image with the editor bar. Once the screenshot area is confirmed, an editor panel will show next to the border. You can draw shapes, arrows, add text, or highlight with a marker pen, as needed.
Method 1 :- Sharing and saving the screenshot
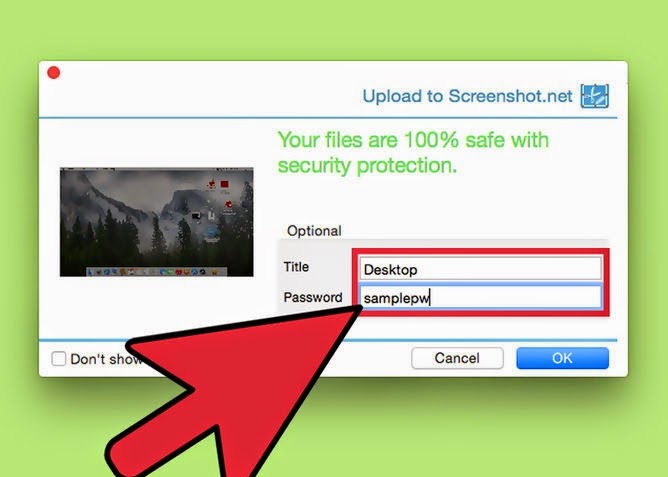
1.Upload the screenshot to cloud storage (optional). This will help you to see the screenshot on a different computer. Just click the cloud icon and upload the captured image to the free cloud space, then you can download it, anytime and from anywhere. You can also key in a password to stop others from accessing it.
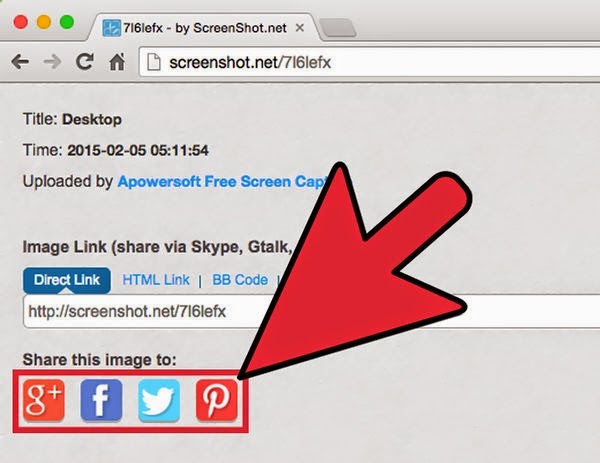
2.Share the image to social media (optional). You can share the image to a social network after uploading it to free cloud space. There are various social media sharing options available, such as Google+, Facebook, Twitter, and Pinterest. Just select one, then the uploaded image will be automatically shared to your personal account.
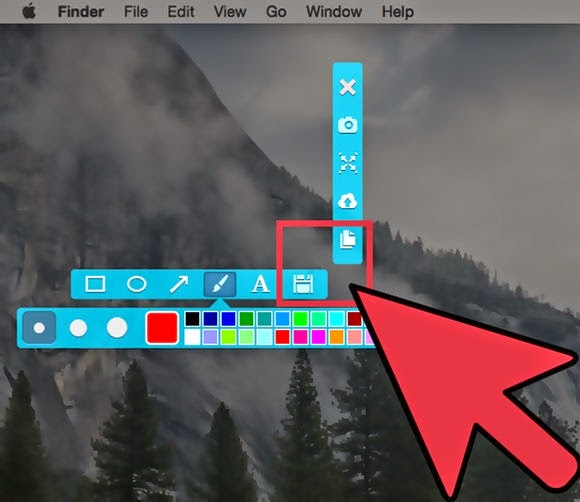
3.Save the image or copy to the clipboard. There is a thumbnail of disk icon on the horizontal editor bar and a piled paper icon on vertical, you can click the first icon to save the captured image to your local disk, or hit the vertical one to copy the captured content to clipboard, and then paste to WordPad or anywhere else.
Available link for download
Subscribe to:
Posts (Atom)